


From Image to Stitch: The Ultimate Guide to Embroidery Digitizing
Learn how to transform any image into perfect embroidery with this complete digitizing guide. We cover the entire process from file preparation to final stitches for flawless results.
Introduction
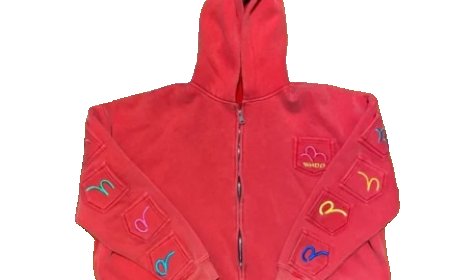
Picture this: You've got an amazing design that would look perfect embroidered on a hat or jacket. You send it off, excited to see the final product - only to get back a distorted, puckered mess. What went wrong?
The secret lies in digitizing embroidery - the crucial step that converts your image into instructions an embroidery machine can follow. Get it right, and you'll have crisp, professional embroidery. Get it wrong, and... well, you've seen what happens.
This guide will walk you through the entire digitizing embroidery process from start to finish. Whether you're a complete beginner or looking to improve your skills, you'll learn:
-
How to prepare your image for digitizing
-
The different types of stitches and when to use them
-
Professional techniques the experts use
-
Common mistakes and how to avoid them
Let's turn your images into stitch-perfect reality.
What is Embroidery Digitizing?
Embroidery digitizing is the process of converting artwork into a digital file that tells an embroidery machine exactly how to recreate your design in thread. Think of it like creating a roadmap for the needle - every movement, stitch type, and color change is carefully planned.
Why Proper Digitizing Matters
-
Prevents thread breaks and puckering
-
Maintains design integrity
-
Ensures consistency across multiple items
-
Saves time and materials in production
Preparing Your Image for Digitizing
File Types That Work Best
-
Vector files (AI, EPS, SVG)- Ideal for clean lines and easy scaling
-
High-resolution PNG/JPG (300+ DPI)- Works but may need manual cleanup
-
Avoidlow-res images or complex gradients
Design Considerations
?Simplify complex elements- Small details may not stitch well
?Minimum text size- 0.2 inches tall for readability
?Color reduction- Embroidery uses solid thread colors
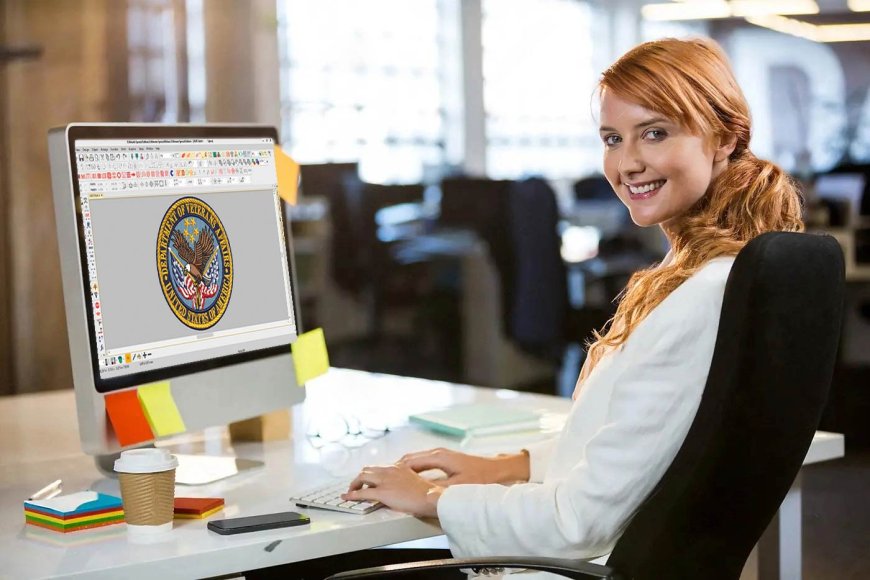
The Digitizing Process Step-by-Step
1. Importing and Tracing
-
Open your design in digitizing software
-
Use auto-trace tools or manually trace important elements
2. Assigning Stitch Types
-
Satin stitches- For borders and text (smooth, shiny finish)
-
Fill stitches- For solid areas (various patterns available)
-
Running stitches- Fine details and outlines
3. Setting Stitch Direction
-
Affects the texture and appearance
-
Change angles in different sections for visual interest
4. Adjusting Density
-
Typical range: 4-6 stitches per millimeter
-
Lower for thick fabrics, higher for delicate materials
5. Adding Underlay
-
Stabilizes the fabric before top stitches
-
Common types: center run, zigzag, edge walk
6. Sequencing and Color Changes
-
Group elements by color to minimize thread changes
-
Logical progression to reduce jumps
Choosing Digitizing Software
Free Options
-
Ink/Stitch(Inkscape extension)
-
SewArt(basic auto-digitizing)
Paid Professional Software
-
Hatch Embroidery($99-$1,000)
-
Wilcom(industry standard)
-
Embrilliance($200+)
Testing and Refining Your Design
Always Test Stitch!
-
Use similar fabric to your final product
-
Check for:
-
Puckering or distortion
-
Thread breaks
-
Color accuracy
-
Common Adjustments
-
Reduce density if fabric puckers
-
Add more underlay for stability
-
Simplify elements that didn't stitch cleanly
Professional Tips for Better Results
-
Start simple- Master basic designs before complex artwork
-
Study professional files- Analyze how experts structure their work
-
Keep learning- Take online courses or watch tutorial videos
-
Build a library- Save your best settings for different fabric types
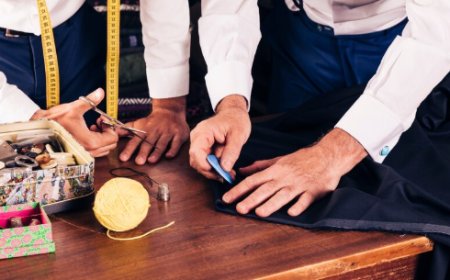
When to Hire a Professional Digitizer
Consider outsourcing when:
-
Your branding needs to be perfect
-
Working with complex artwork
-
Needing specialty techniques (3D puff, sequins)
-
Short on time to learn the process
Conclusion
Embroidery digitizing is both an art and a science. While the software does much of the work, understanding the principles behind great digitizing will help you:
? Achieve professional-quality results
? Avoid common embroidery mistakes
? Save time and materials in production
Remember:
-
Start with the cleanest artwork possible
-
Choose stitch types wisely for each element
-
Always test before final production
Whether you choose to DIY or work with a professional, proper digitizing is the foundation of great embroidery. Now that you understand the process from image to stitch, you're ready to create embroidery that truly does your designs justice.