


How to Repair Sagging Gutters: A Complete Guide
Sagging gutters might seem like a minor annoyance, but they can lead to major damage if left unchecked. A drooping gutter not only affects the aesthetic of your home, but also disrupts water flow, leading to problems like foundation damage, roof leaks, and basement flooding. Fortunately, sagging gutter repair is manageableespecially when you catch the signs early.
In this guide, well explore what causes gutters to sag, how to fix them, and how to prevent future issues.
What Causes Gutters to Sag?
Understanding the root cause of the problem is essential before jumping into repairs. Here are some of the most common reasons gutters start to sag:
1. Clogged Gutters
Leaves, twigs, and other debris can block water flow. When water cant drain, it pools in the gutters, adding extra weight and causing them to bend or pull away from the fascia.
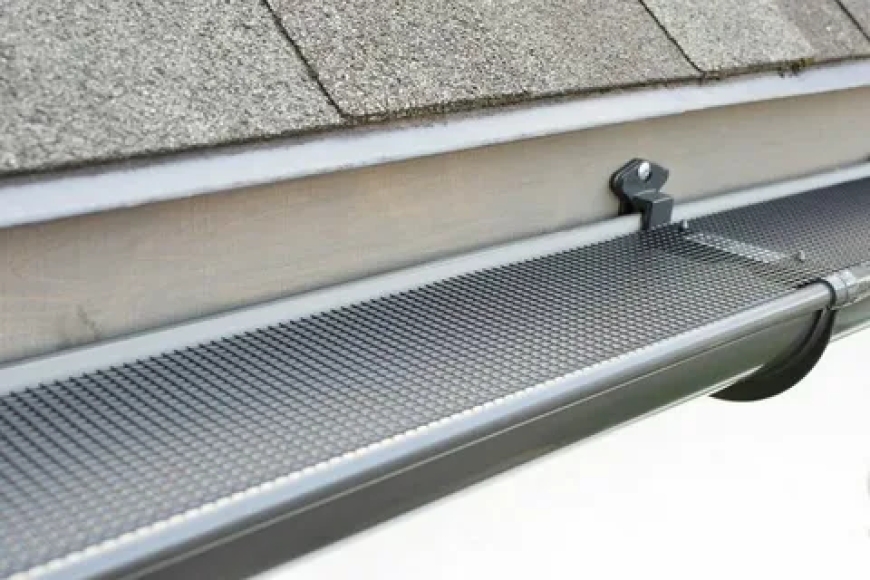
2. Loose or Broken Hangers
Gutters are held in place by hangers or brackets. Over time, these fasteners can become loose, rusted, or break entirely, especially under heavy loads.
3. Improper Installation
If your gutter system wasn't installed correctlyperhaps with too few hangers or improper pitchit can begin to sag prematurely.
4. Heavy Snow and Ice
In colder climates, snow and ice buildup can be too heavy for older or poorly installed gutters to handle.
5. Rotten Fascia Boards
Sometimes its not the gutter itself that's the problem, but the fascia board to which its attached. If the wood is rotting, the fasteners can no longer hold properly.
Signs Your Gutters Are Sagging
If youre unsure whether your gutters need repair, look for the following signs:
-
Gutters visibly drooping or uneven
-
Water spilling over the edge during rain
-
Gaps between the gutter and the roofline
-
Pooling water near your foundation
-
Rust spots or water marks on siding
Catching these signs early can save you hundredsor even thousandsof dollars in home repairs.
Step-by-Step: How to Repair Sagging Gutters
Fixing a sagging gutter may sound like a big job, but many repairs can be done with basic tools and a little elbow grease.
Step 1: Inspect the Damage
Examine the entire gutter system to determine the scope of the sagging. Check the hangers, fascia board, and any joints.
Step 2: Clean the Gutters
Remove all debris from the gutter. Use a gutter scoop or garden trowel followed by a hose to flush out any remaining gunk. This step ensures youre not repairing a system thats just weighed down by blockage.
Step 3: Tighten or Replace the Hangers
Loose or missing hangers are often the cause of sagging. Use a drill or screwdriver to tighten existing fasteners. If theyre rusted or bent, replace them with new ones spaced about every 23 feet.
Tip: Use gutter hangers with screws rather than nails for a more secure hold.
Step 4: Check the Fascia Board
If the board the gutters are attached to is soft or rotting, youll need to replace it. This may involve removing a section of the gutter first, installing a new board, and then reattaching the gutter securely.
Step 5: Adjust the Pitch
Gutters should slope about 1/4 inch for every 10 feet toward the downspout. Use a level to check the pitch, and adjust hangers as needed.
Step 6: Seal Leaky Joints
While making repairs, inspect for leaks at joints and seams. Apply a waterproof gutter sealant to stop any water from escaping.
Tools and Materials Youll Need
Before starting your repair, gather the following items:
-
Ladder (preferably a stabilizing ladder)
-
Drill or screwdriver
-
Replacement hangers/brackets
-
Screws or gutter spikes
-
Gutter scoop and hose
-
Sealant
-
Safety gloves
-
Level
DIY vs. Professional Gutter Repair
While many sagging gutter repairs are DIY-friendly, there are times when calling a professional is the smarter option.
DIY Is Ideal When:
-
The sag is limited to one or two sections
-
The fascia board is still solid
-
Youre comfortable using a ladder
Call a Pro If:
-
Theres extensive sagging across multiple sections
-
Fascia boards are rotted
-
Your home is more than one story and difficult to access safely
-
You want to replace the entire gutter system
Professionals can also inspect your home for related issues, such as roof damage or poor drainage grading.
Preventing Future Gutter Sag
Once your gutters are repaired, follow these maintenance tips to keep them in good shape for years to come:
1. Clean Gutters Regularly
Clear out debris at least twice a yearmore if you live near trees. Consider installing gutter guards to reduce clogging.
2. Inspect After Storms
After heavy rain, snow, or wind, check your gutters for signs of sagging, leaking, or separation.
3. Use the Right Materials
If youre upgrading or replacing your gutters, opt for aluminum or copper over cheaper plastic options. Theyre more durable and less prone to warping.
4. Reinforce Hangers
Even if your gutters seem secure now, adding extra hangers or brackets can provide extra support and prevent future sagging.
5. Keep Downspouts Clear
Blocked downspouts prevent water from flowing out of the system, increasing the risk of overflow and sagging.
Conclusion: Keep Your Gutters in Shape
Sagging gutters are more than just an eyesorethey can lead to serious water damage if ignored. With routine inspections and timely repairs, you can keep your gutter system working effectively and extend its lifespan.
Whether you're tackling the job yourself or hiring a local gutter repair expert, taking action early ensures your home stays protected from the top down.
Need Professional Gutter Help?
If your gutters are sagging and youre not sure where to start, contact a local expert who can assess the damage and make lasting repairs. Investing in proper gutter maintenance now can save you from costly home repairs in the future.